Yacht Decking
Custom Design - Fabrication - Project Management
Note to reader
Having been in the yachting industry for around 30 years there is a lot I have seen and done and a lot more I have not. Writing this page is interesting to me as there is so much I have left out in order to keep it short. In retrospect you really do need to know your boats in order to do this work.
PHASE ONE
Synthetic and Real Teak Choice
The choice is really the customers.
Personally, I cannot think of any reason why one should choose either or. The Synthetic Vinyl Composites today offer grip texture and look - (appeal). Whilst being simpler to install and not requiring screws or fasteners simply glue, you can be sure that you are not damaging the deck or sole of the boat.
I have done a few jobs where we have framed the faux teak decking with real teak work and had some really nice results.
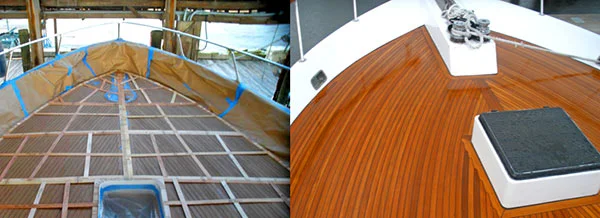
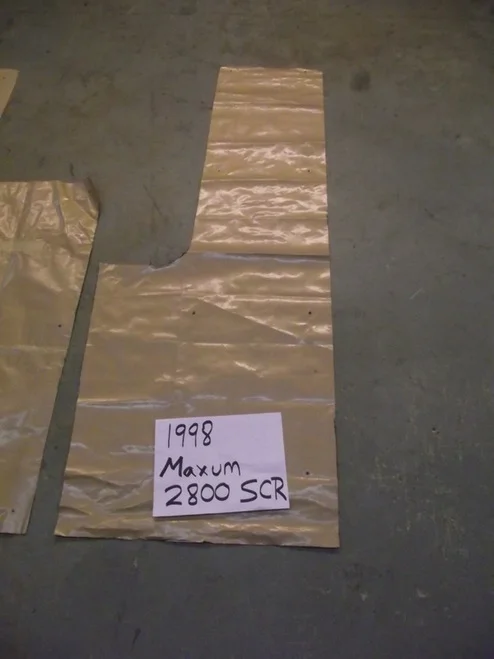
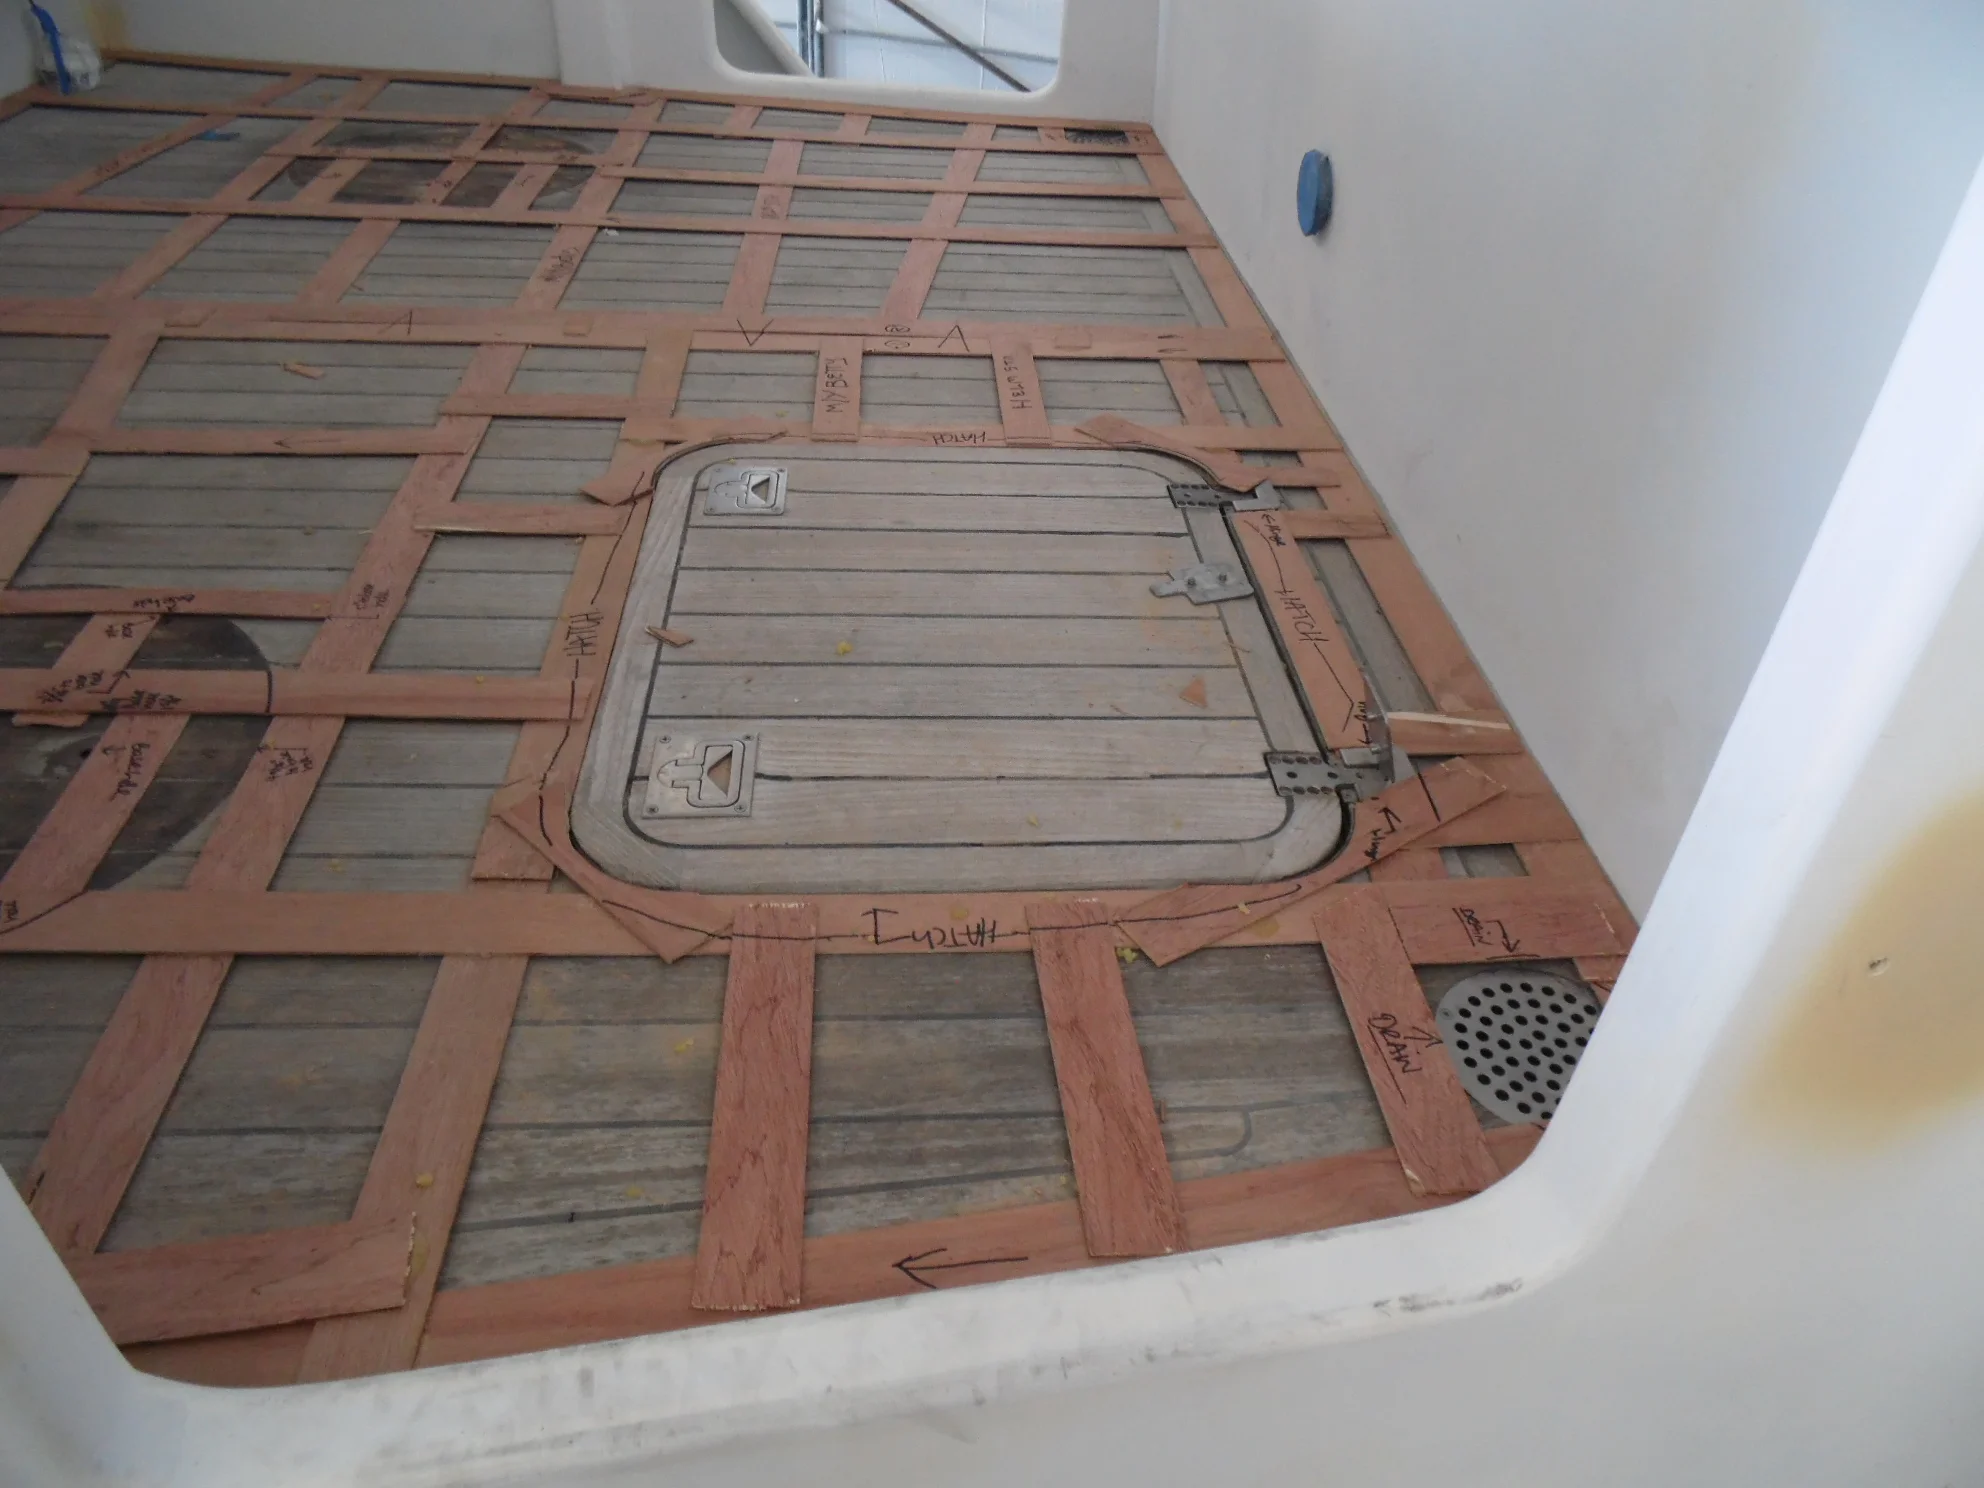
PATTERNING & Templating
The patterning is pretty much the same for real teak decking as it is with faux teak or vinyl, if - you are going to prefab your deck or sole in your shop and then install the finished panels onto the surface.
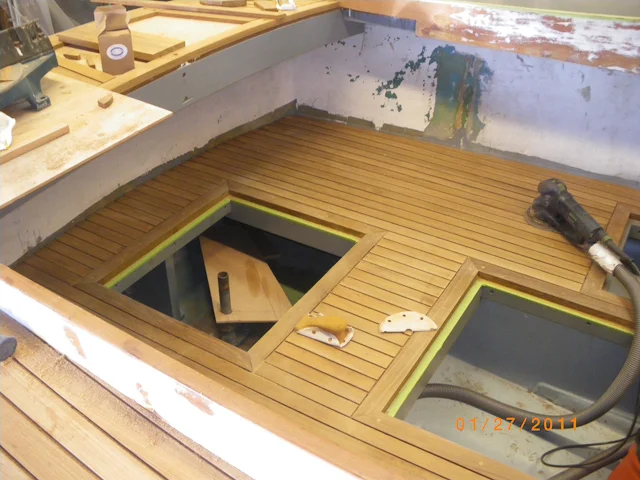
This method works well for small areas such as stair cases, hatch covers on aft decks, etc.
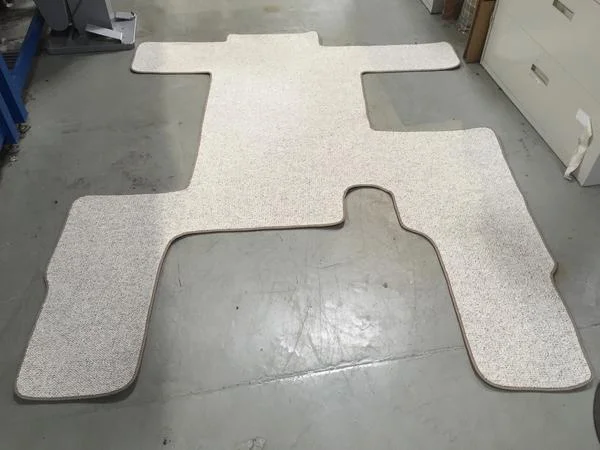
Here we treat the templating-patterning project much the same way as I would the fitting of snap in custom carpeting, or for that matter hull liners.
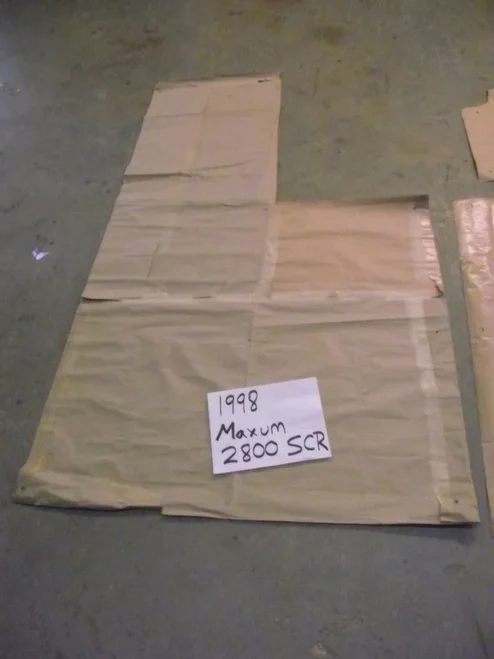
The template is made from a paper- card that will not stretch .... I have gone to using a thick waxed paper as so often it rains and the paper gets wet.
Using a poly-ethylene plastic as we do for templating dodgers and enclosures I find for decking and carpets is not quite the same as having a hard crisp edge to follow which you get from stiff paper.
Preparation for job
Whether you are doing a one off or setting up for a production run for a line of boats it is pretty much the same process. The only time you revert back to traditional plank fastening systems and methods is if you are working on a wood boat. This I will deeal with further down the page.
Templates- patterns and Jigs
Once you have a paper, you can then lay the pattern out on your floor or a table - the floor is hard on your back and a well set up table is a tool......... Please guys, your shop set up is very important.
My shops normally have 12 foot by 6 foot tables on rollers that are on a perfectly level and hard screeded floor that has been epoxy or resin coated to ensure smooth rolling of the tables so that when they join the are all exactly at the same height and you can make up the shapes of the piece you are working with at arms length from the edge of the table.
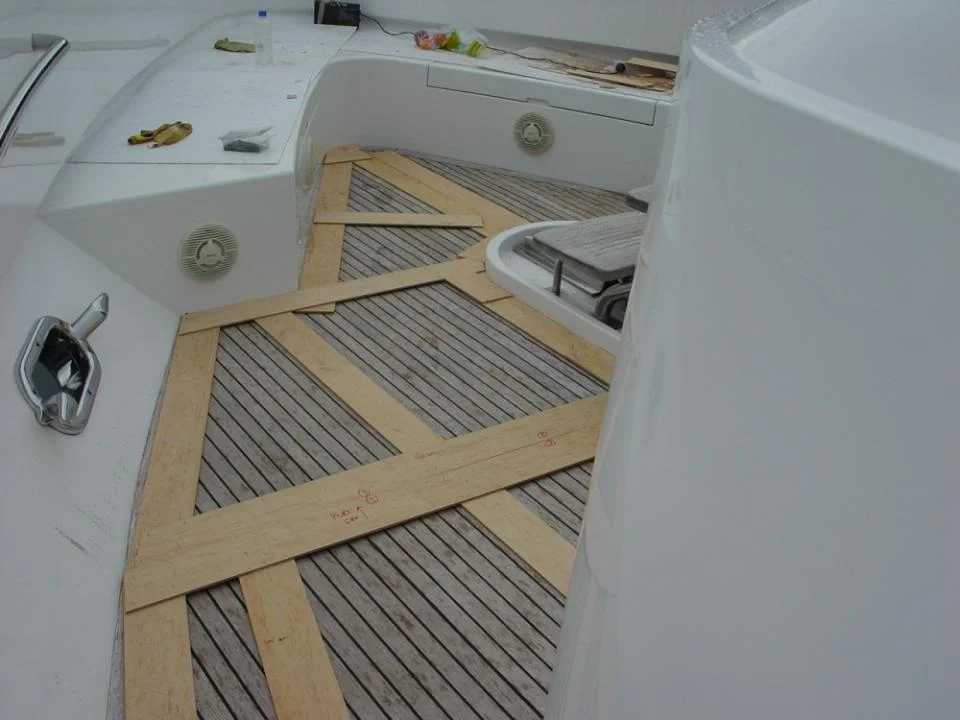
So, You make the paper pattern-template, then you go to your off cut stock and get strips of 1/8 inch plywood and a jig-saw and a hand rasp and a sander. You the proceed to take the strips and lay them over the pattern in the form that you templated.
Then you make up a jig (Photos below). Then these are hot glued together....not too much glue. and you make sure that your jig is 1/4 inch larger than necessary. If you are confident with the pattern or template you can reduce the overage to 1/8th inch.
The individual strips are then numbered and taken apart taped together in a bundle and you are off to the boat to re-assemble the jig. Here you need a staple gun and hot glue gun and some quick set epoxy.
Once the jig -wood pattern has been made and shaped perfectly to size - I mean exactly and photographs of the work in a slide show and note made of every corner and joint - I use a video note on my phone and down load into the clients job file at the office - At this point you can leave the boat and go back to your work shop and start the fabrication.
All measurements and notes have been made .
PHASE TWO
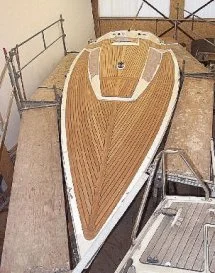
Ok, so these picks should show you the method of making your template and the patterns.
Now for the wood lay up.
As I noted in the Wood boat building page your supplier is key, along with your shop lay-out and the machinery, tools and blades.
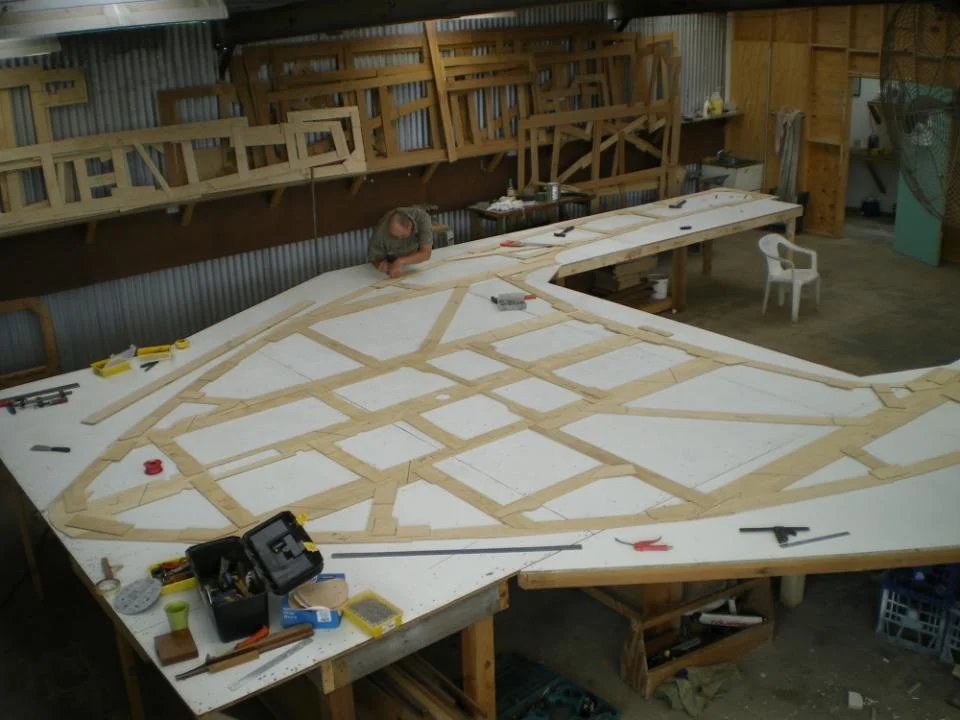
Once your jigs have been transported from the boat to the workshop... carefully and intact, you can lay them on your tables and start drawing out the final design on your table.
This can be done once the tables are fastened together and a poly prop plastic surface has been stretched tight over the table surface.... this protects you table surface for the next job.
PHASE THREE

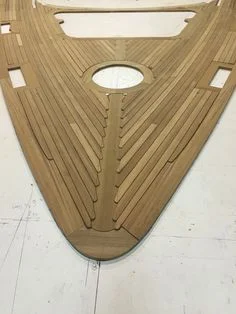
Whether you are using synthetic or real teak and holly - ash or oak you still have to align the laminates and make sure that the planking widths are equal - And, make sure that the edging and joint angles are balanced in design.
This can be harder than first imagined, thus an over-all picture needs to be formed in your mind, way back, when you bid the job or did your first measurements.
Some times the edging will need to be slightly wider or narrower to fit with the planking strips
BIG NOTE !!!!!!
PLEASE ! Remember the orientation of the patterns and the strips!
This is why I always lay the entire project out. I have passed a project onto staff who have created panels with half the planking set in the wrong orientation !
Whether you are fitting and working directly on the boat or prefabricating in your shop and the installing the decking attention to detail and taking 5 minutes to prep ans clean the areas and set up the work for the nect day is vital.
Cleanliness is godliness and a neat and tidy job is always paid for .....(one way or another)
Quoting the time-frame can be difficult at times as one never knows what lies beneath the surface you are replacing when dealing with an old boat.
Sorry folks, I could write a book here, but I am stopping this part here. Next is replacing planking
Knowing your boats and having the experience to know what lies beneath the surface requires experience both for the job and for the quoting of the job and how you write the contract for the work to be performed.
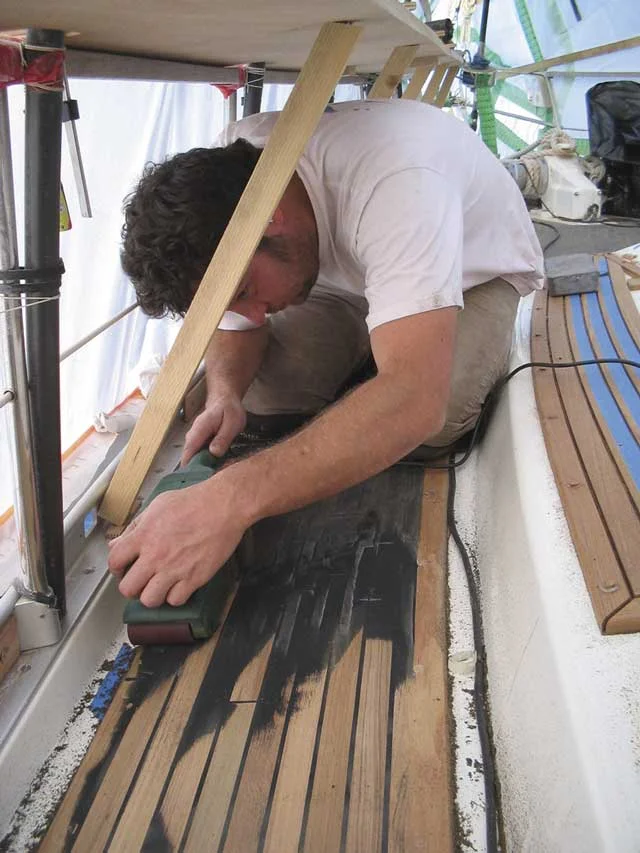
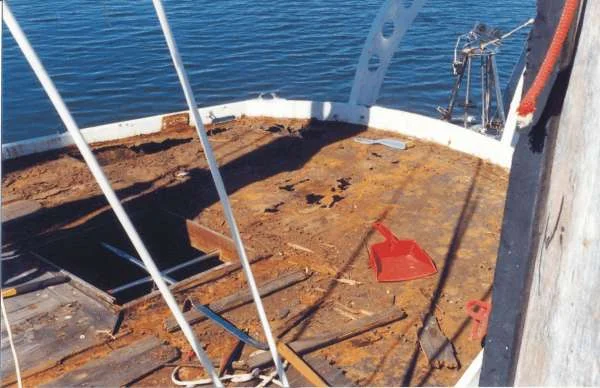
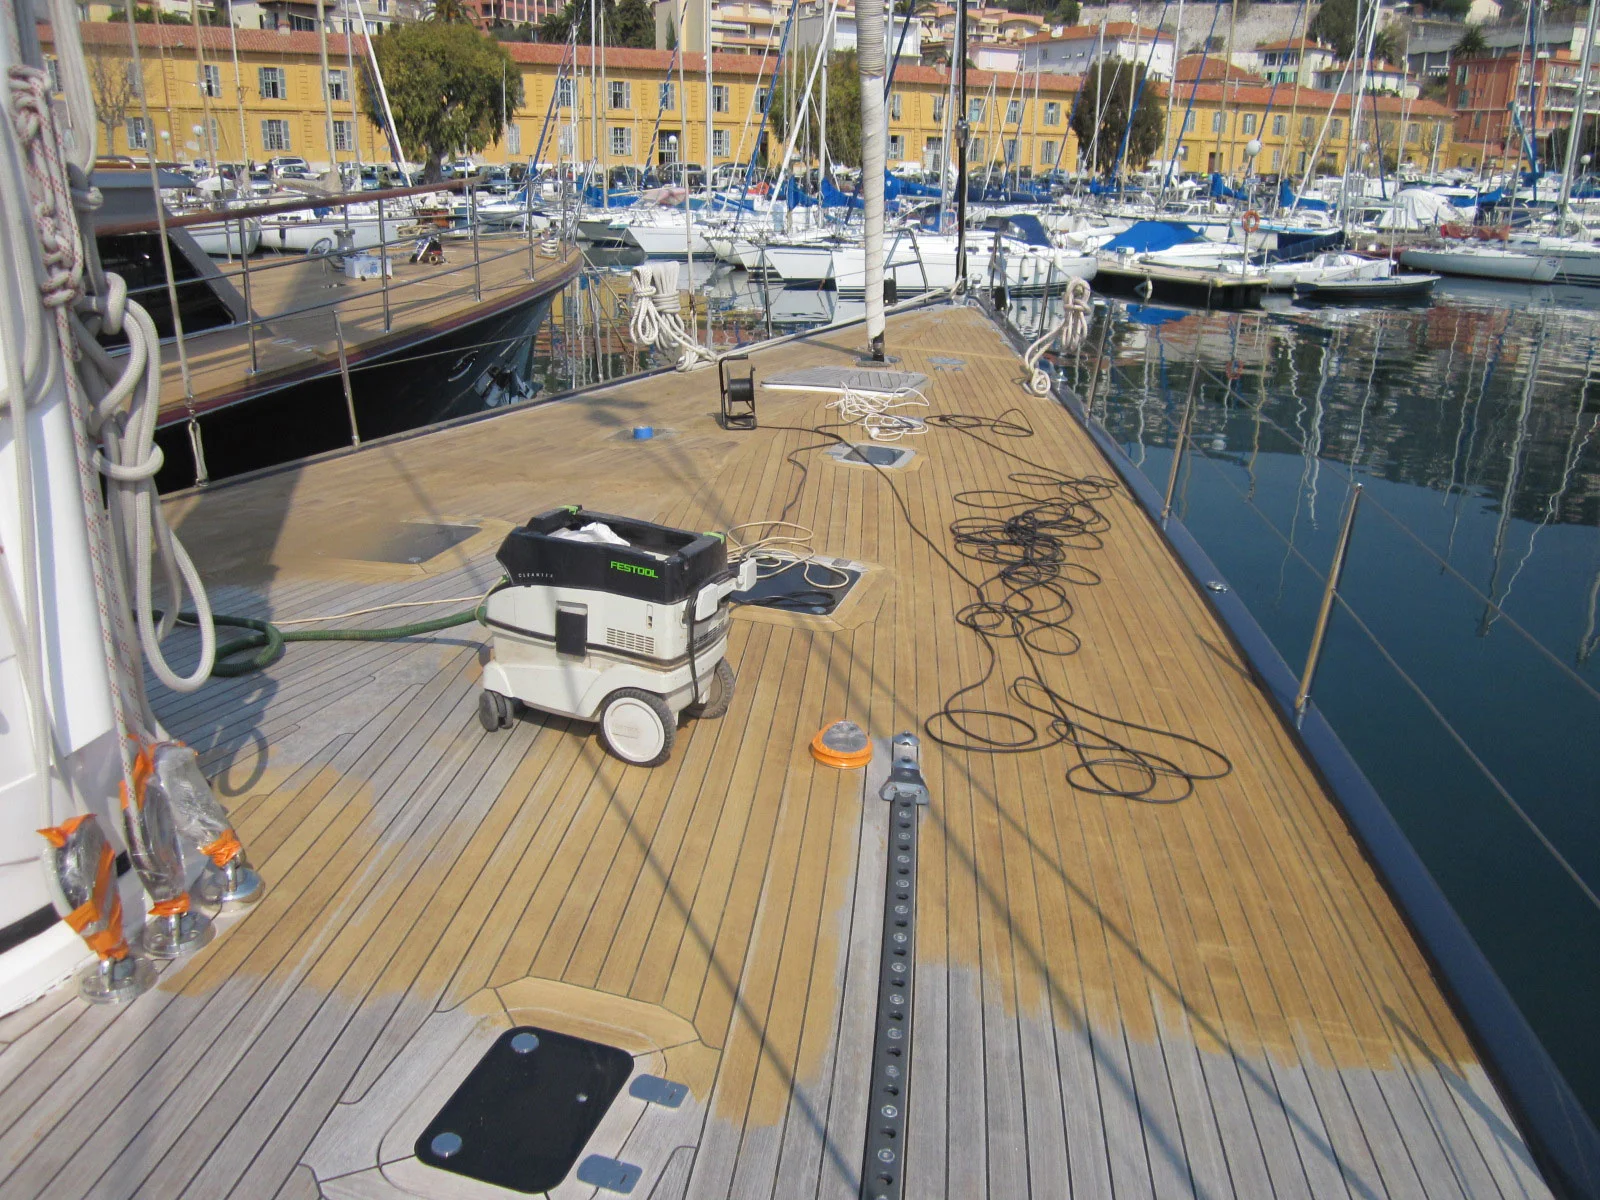
Stripping a deck can be a delicate and time consuming job.
Normally one puts grunt labour on to this work but you need to keep an eye on the work at they can either go to deep or damage the sub-deck or planking which would have to be leveled out or built up costing time and money.

A nicely flattened deck with all the holes filled makes for a quick and simple pre-fab deck install or for that matter laying the new teak strips.
Always the owner and the job budget will determine the time and quality of the work being performed.
There are a 1000 ways to do a job many will be cost effective and last the life time of the boat others will out last the boat and bad or cheap jobs are only going to cost the boat owner and yourself grief.
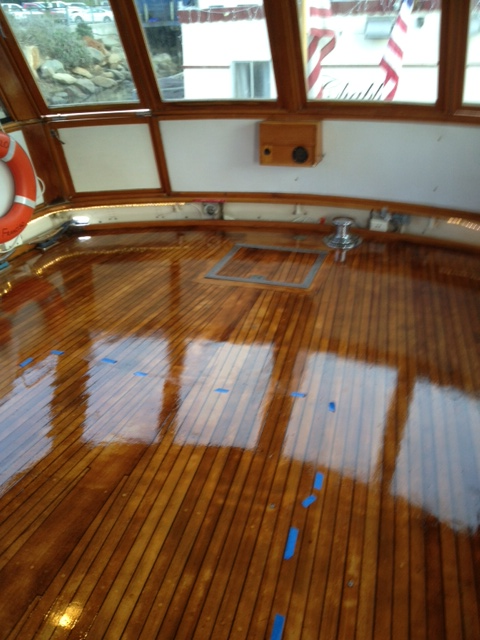
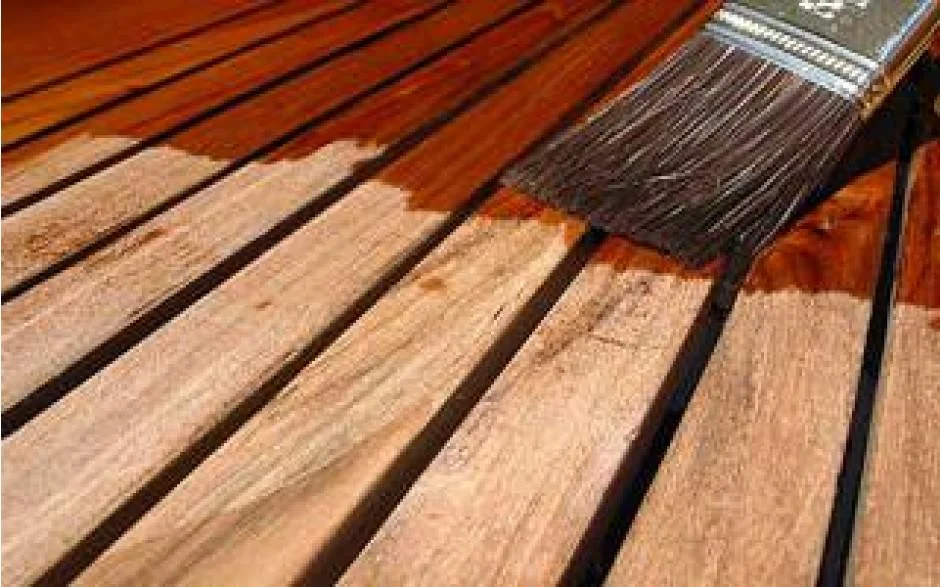
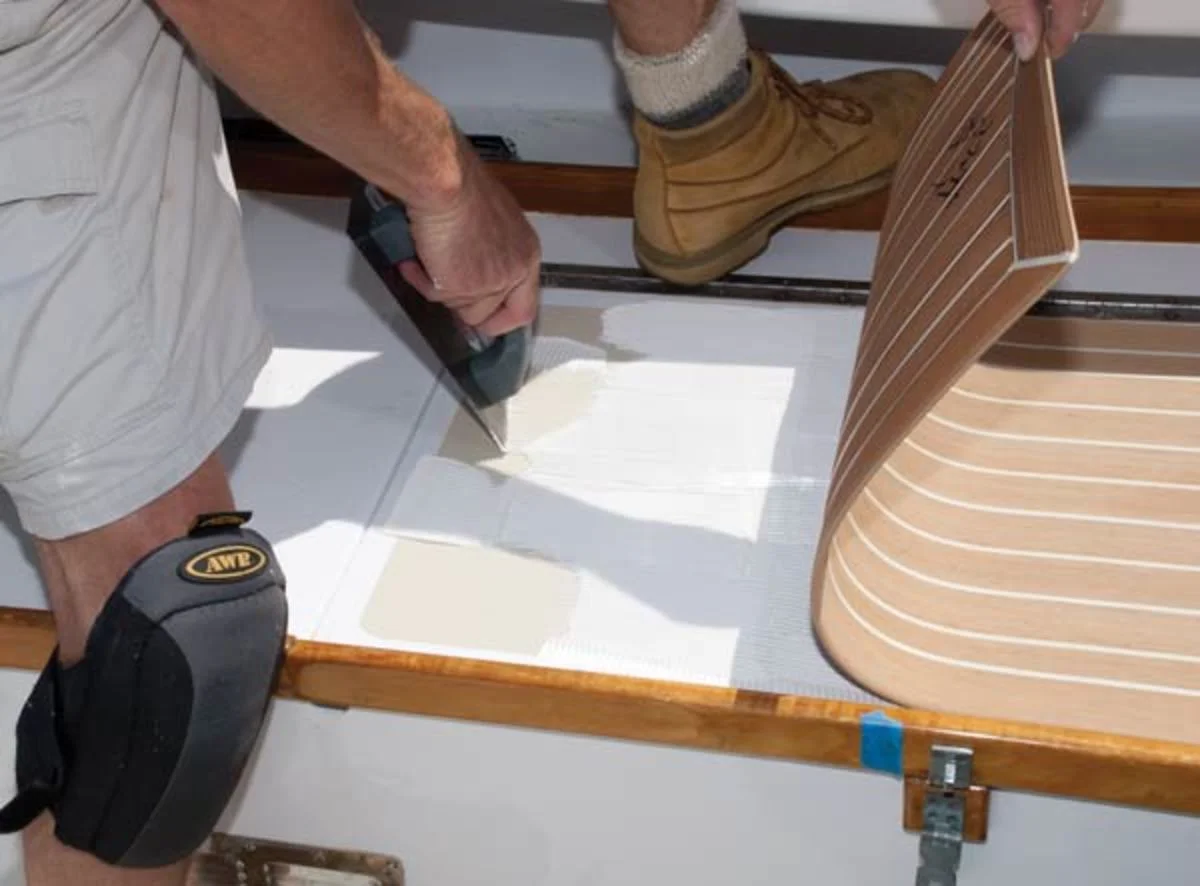
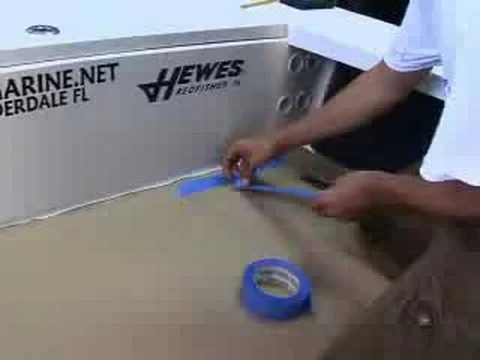
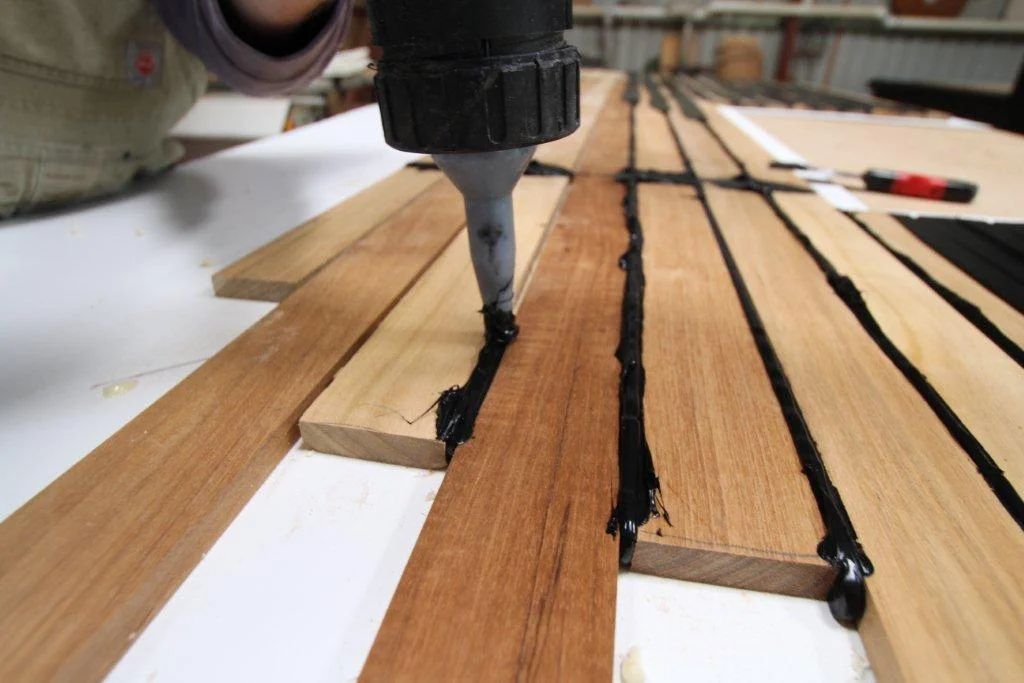
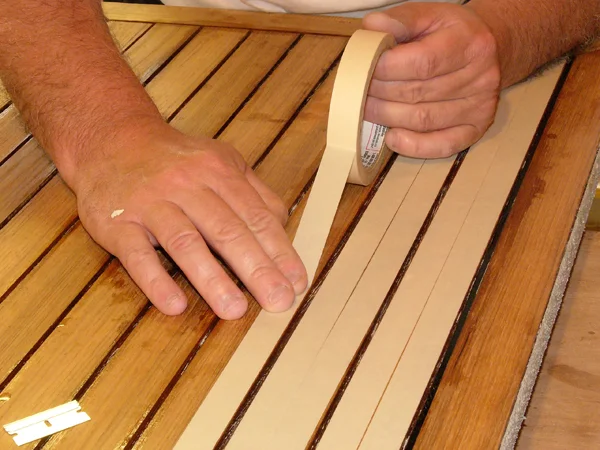
Calking
Calking is a straight forward job. If you are in a rush and you have a steady hand you can eliminate the taping when you have sufficient meat in the wood to sand off any calking that might smudge your calking.
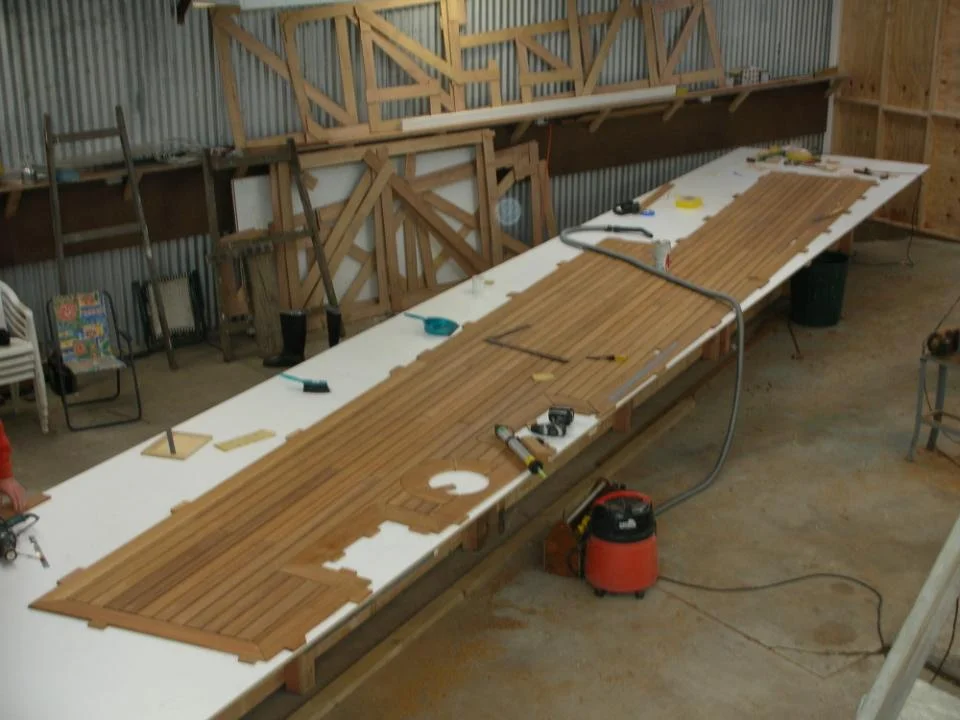
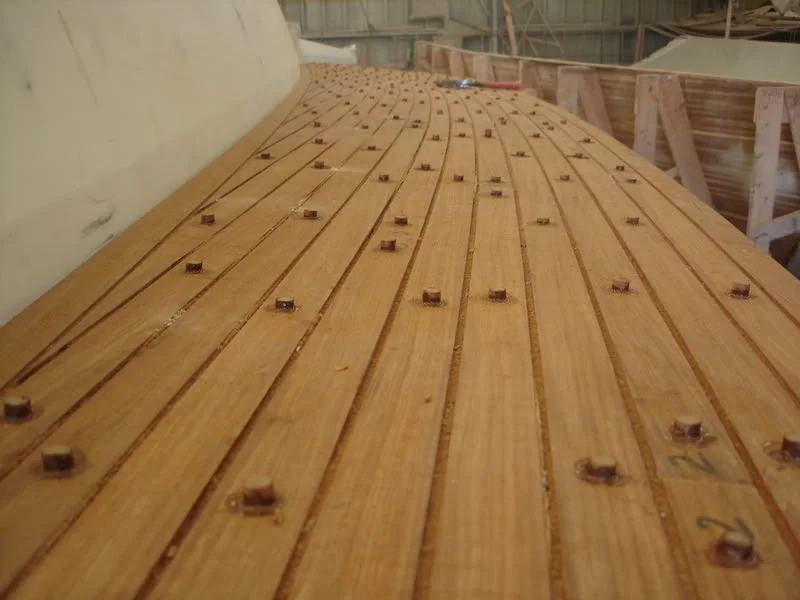
This pic is taken of a laminate set up in a shop where there is plenty of walk around space and the pieces are being glued together prior to adhesion onto a composite deck part which is being build in the shop as well.
This is a rapid cure calking and the planking -strips will be screwed and plugged at a later stage.
Choice of calking
There are many different types and brands available in the commercial modern product range. which one you like and have experience in is up to the individual.
I am not about to either praise or bad mouth a product as most have been well tested and if direction of use are followed you should get the desired adhesion and finish you require . That being said ..... use the correct calking for the right materials and job.
Plugging
Only note I have here is .... GUYS...
Please get the plug alignment and orientation of the grain as well as the colour of the plug the same as the wood you plugging .
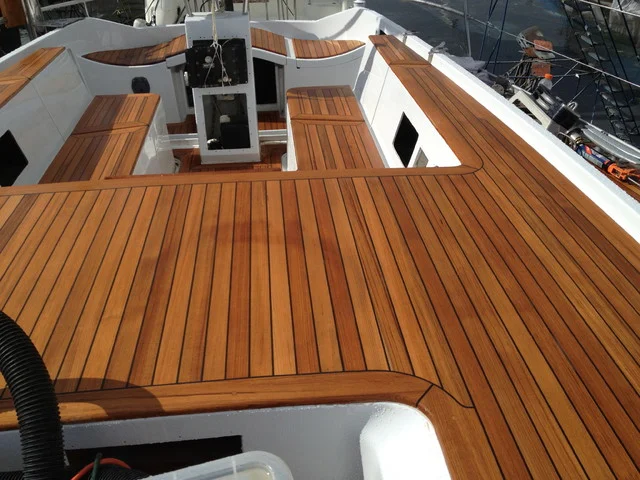
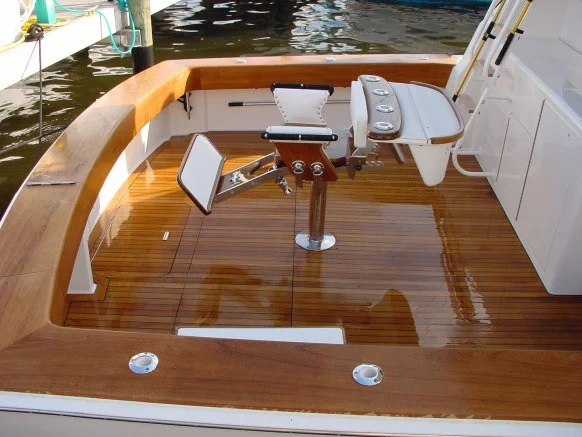
Yacht Decking
Projects
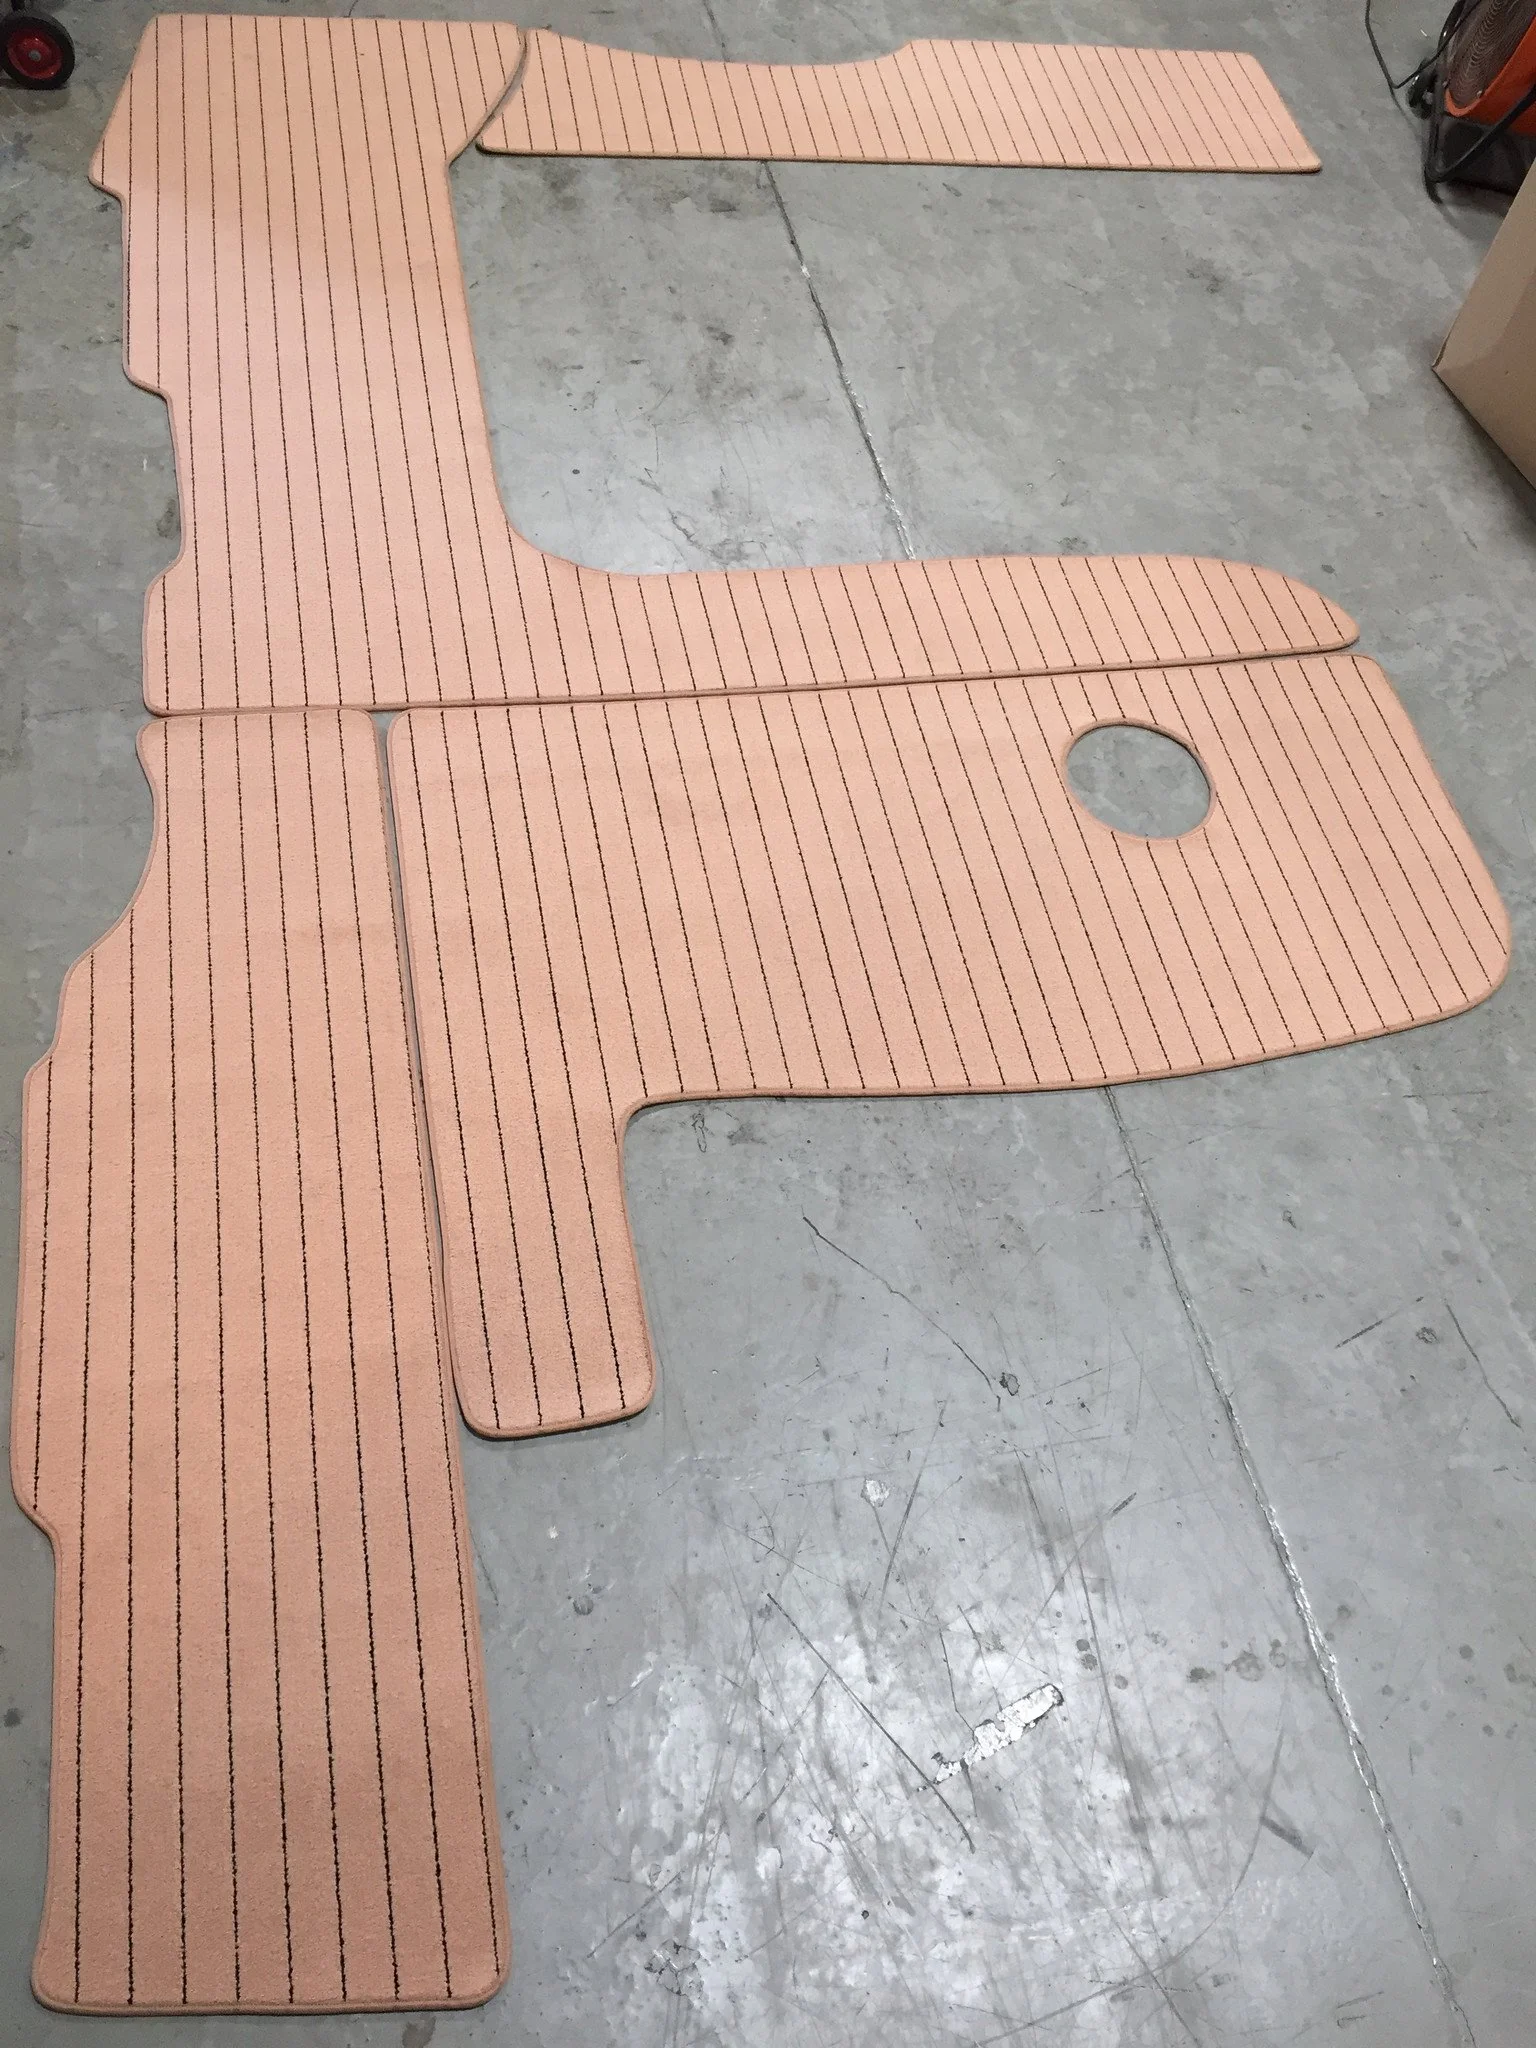
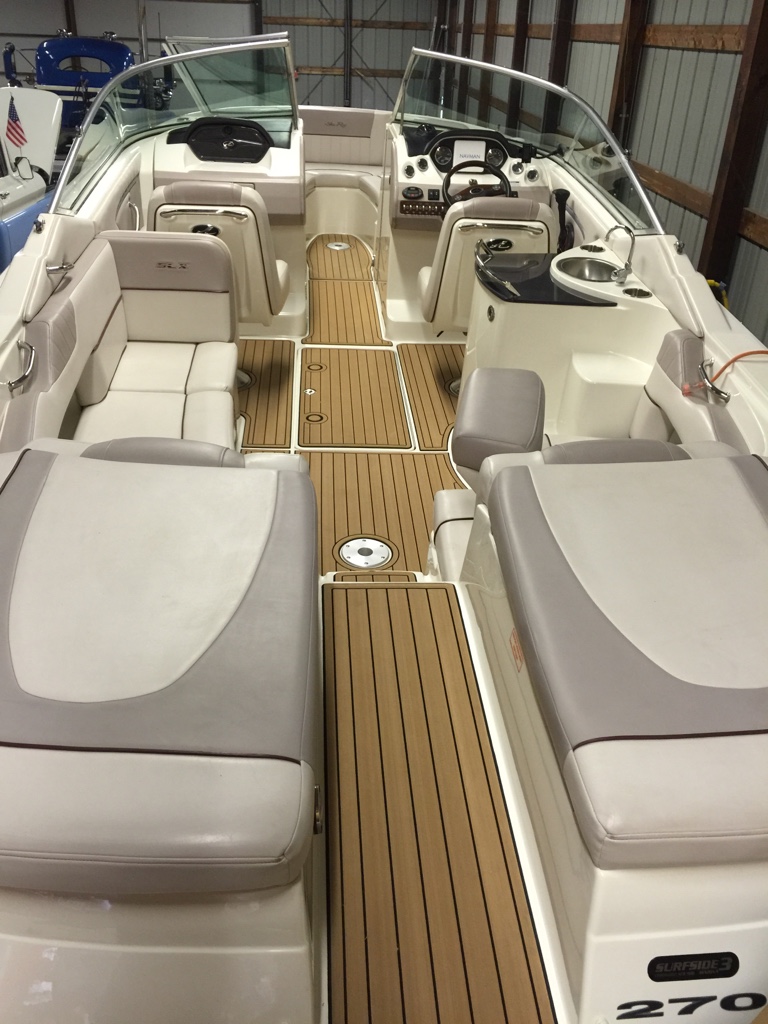
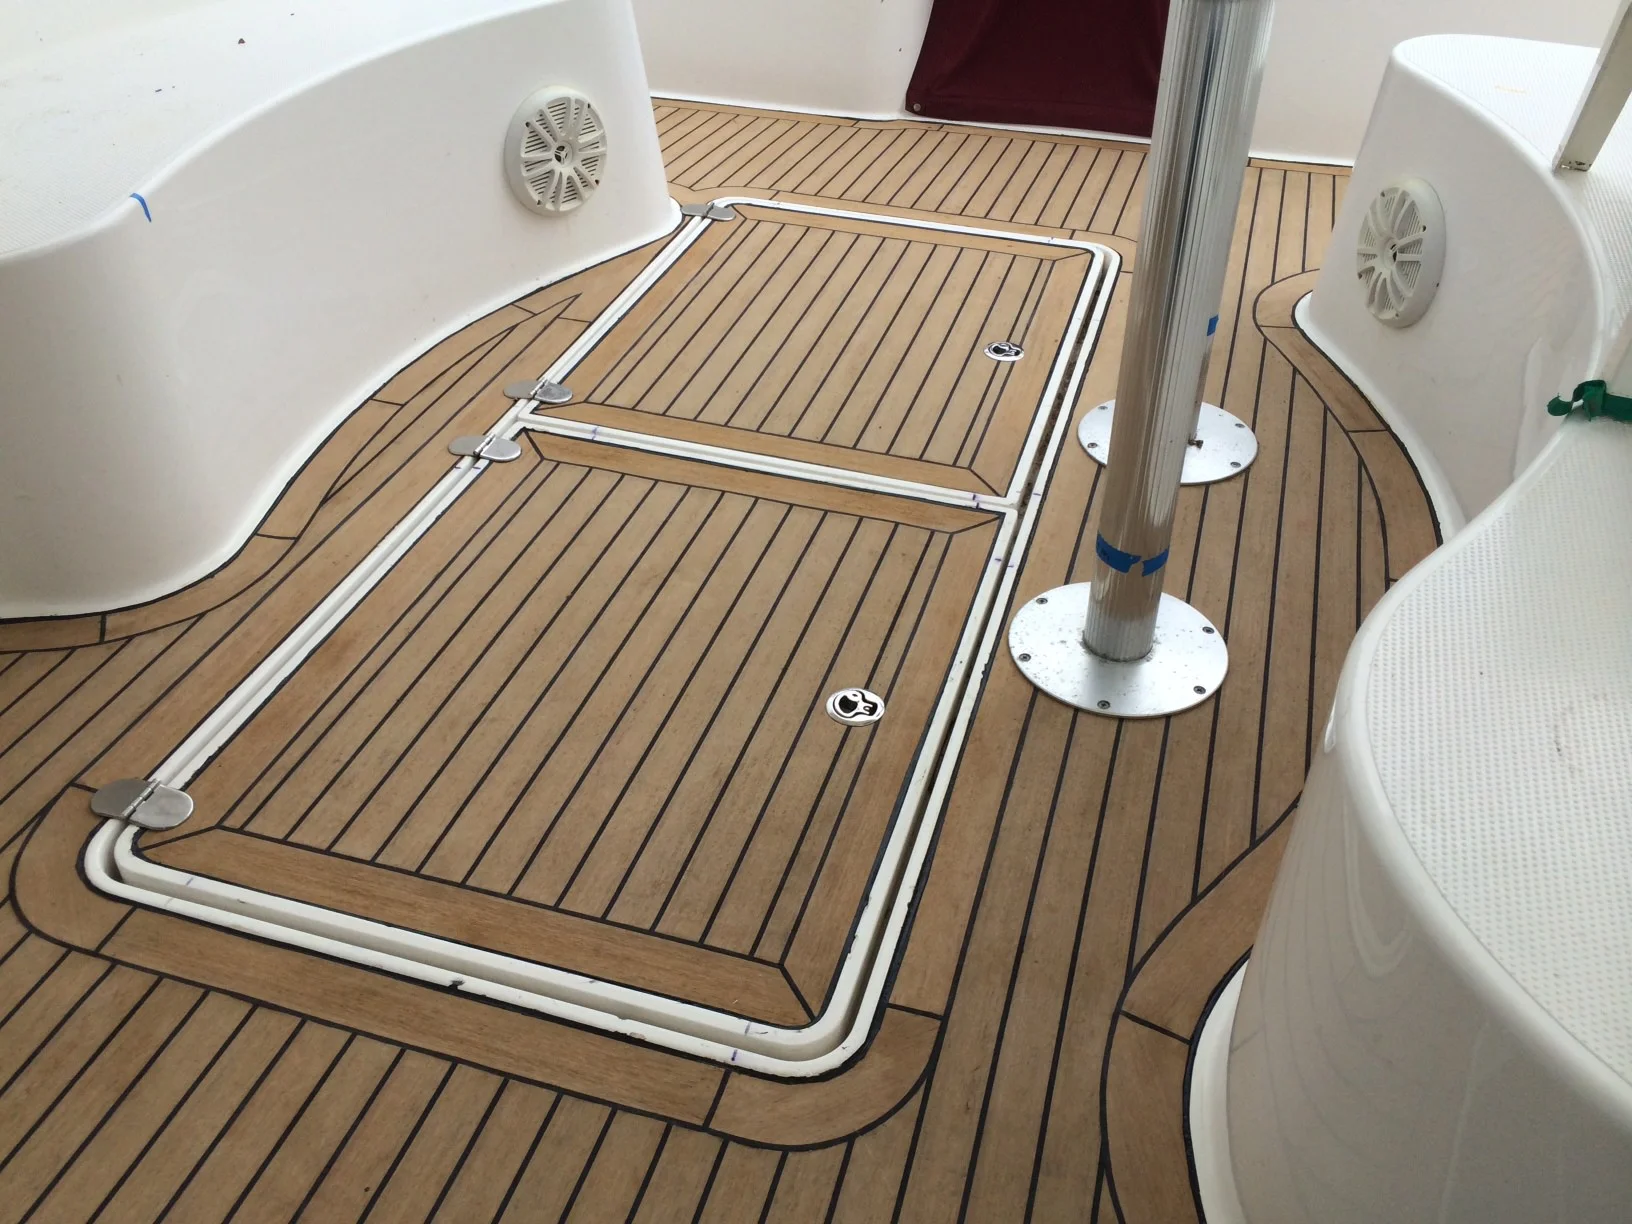
Quick simple job done in 4 weeks Bid out at $ 6000 materials and 2 workers @ $3000 each per month.
Templated - Patterned pre fabricated and then installed.